








































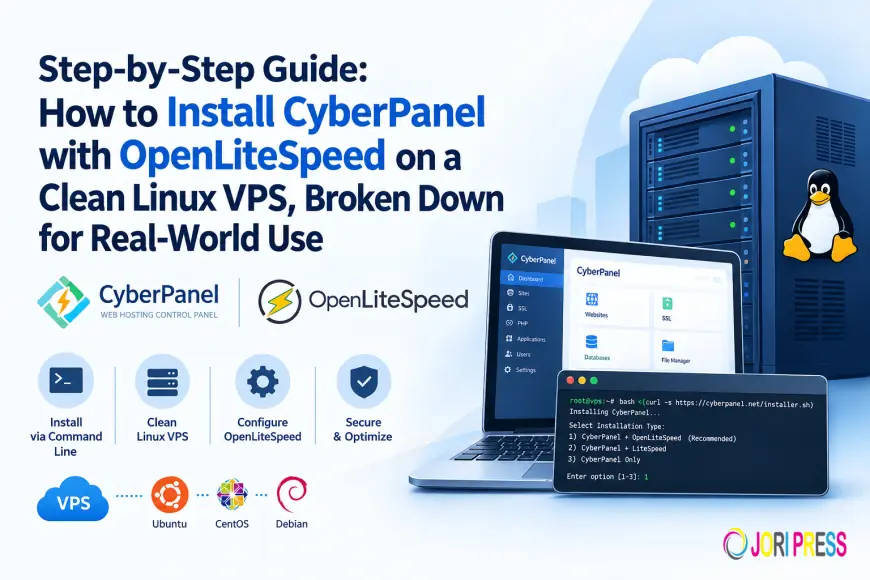
Step-by-Step Guide: How to Install CyberPanel with OpenLiteSpeed on a Clean Linux VPS, Broken Down for Real-World Use
Installing a hosting control panel is easy when everything goes correctly. The harder part is understanding what the installer is changing, which optional services you actually need, and how to recognize a configuration problem before websites are placed into production.
Installing a hosting control panel is easy when everything goes correctly. The harder part is understanding what the installer is changing, which optional services you actually need, and how to recognize a configuration problem before websites are placed into production.
Administrators looking to install CyberPanel on VPS infrastructure should begin with a clean, supported Linux server rather than treating the installer as something that can safely be layered over an existing Apache, Nginx, or hosting stack.
CyberPanel's supported operating-system matrix changes over time. Its current project documentation includes Ubuntu and several RHEL-family distributions, but administrators should check the official compatibility list immediately before deployment rather than relying on an old tutorial.
This walkthrough focuses on CyberPanel with OpenLiteSpeed and explains not only what to run, but what to verify before and after running it.
1. What CyberPanel and OpenLiteSpeed Do
CyberPanel is a web hosting control panel that manages common server tasks such as websites, PHP versions, databases, DNS, SSL certificates, backups, users, and server services.
With the free edition, OpenLiteSpeed acts as the web server.
OpenLiteSpeed uses an event-driven architecture and supports technologies including HTTP/2 and HTTP/3. PHP applications can be handled through LiteSpeed's LSAPI interface. Its cache module can also be integrated with applications such as WordPress.
That does not mean OpenLiteSpeed will automatically outperform every Apache or Nginx configuration. Application code, database performance, caching strategy, PHP configuration, traffic patterns, and available CPU/RAM remain important.
The attraction of an OpenLiteSpeed VPS setup is primarily integration: CyberPanel manages a web-server environment designed around OpenLiteSpeed instead of requiring the administrator to assemble every component manually.
2. Prerequisites Before Installation
Use a fresh VPS or dedicated server with:
- A currently supported Linux release
- Root administrative access
- Sufficient RAM and disk space for the panel and intended workloads
- A public IP address suitable for hosting websites
- Working outbound internet access
- A planned fully qualified hostname, such as panel.example.com
- DNS control for the domains you intend to host
- Provider firewall or security-group access
CyberPanel's installation documentation has historically specified at least 1 GB RAM and 10 GB disk space, but those figures should be treated as installation minimums rather than a comfortable production specification. Databases, Redis, mail, DNS, backups, WordPress, and multiple PHP workers can increase resource demand considerably.
3. Preparing a Clean Linux VPS
A clean VPS matters because CyberPanel installs and configures multiple server components.
An existing Apache, Nginx, LiteSpeed, MariaDB, mail server, DNS server, or manually customized PHP stack can conflict with ports, packages, users, directories, or configuration files expected by the installer.
Before proceeding, check listening services as root:
ss -ltnup
Pay particular attention to ports 80 and 443. If another web server already owns them, determine why before installing CyberPanel.
You can also inspect active web services:
systemctl --type=service --state=running | grep -Ei 'apache2|httpd|nginx|lsws|lshttpd'
Do not simply remove packages because they appear here. On an existing server, package removal can break production applications. Rebuilding a clean VPS is normally safer than trying to convert an unknown server configuration.
4. Updating the Operating System
Package updates should be completed before panel installation.
For Ubuntu, run as root:
apt update
apt upgrade -y
The first command refreshes package metadata. The second installs available upgrades.
On supported RHEL-family systems, the equivalent is generally:
dnf update -y
If the operating system indicates that a reboot is required after major updates, reboot before installing CyberPanel and reconnect through SSH.
5. Checking Hostname, DNS, and Server Access
Check the current hostname:
hostnamectl status
A server intended for hosting should normally use a fully qualified hostname rather than a generic provider-generated name.
For example:
hostnamectl set-hostname panel.example.com
Replace panel.example.com with a hostname you control.
Create an A record pointing that hostname to the VPS's public IPv4 address. CyberPanel's onboarding documentation recommends having the hostname's A record pointed correctly before hostname-related setup.
Check the configured time zone as well:
timedatectl status
Correct server time matters for logs, scheduled jobs, certificate operations, and troubleshooting.
6. Connecting Through SSH
From your workstation:
ssh root@SERVER_IP
Replace SERVER_IP with the VPS address.
CyberPanel's installer requires root-level installation. A normal shell user without elevated privileges cannot perform the system-wide package and configuration changes involved.
Before continuing, confirm that you are on the correct server.
hostname
ip addr
This small check prevents an unpleasant mistake when several SSH sessions are open simultaneously.
7. Running the CyberPanel Installation Script
CyberPanel currently publishes this installation method:
sh <(curl www.example/install.sh || wget -O -www.exaple/install.sh
The command downloads the official installer using curl, with wget as a fallback, and passes it to the shell.
For production work, verify that the command still matches CyberPanel's official documentation before running it. Do not copy a years-old installer URL from an unrelated tutorial.
8. Selecting OpenLiteSpeed During Installation
The installer presents a choice between CyberPanel with OpenLiteSpeed and an Enterprise LiteSpeed configuration.
For this tutorial, select:
CyberPanel with OpenLiteSpeed
OpenLiteSpeed is the open-source option and does not require a LiteSpeed Enterprise web-server license. This is what people sometimes mean when searching for a free LiteSpeed server, although OpenLiteSpeed and LiteSpeed Web Server Enterprise are different products.
9. Understanding the Main Installation Options
This is where administrators should stop treating the installer as a sequence of Enter-key presses.
CyberPanel installations may present options including:
- Full Service components
- Local or remote database configuration
- CyberPanel version
- Administrator password
- Redis
- Memcached
- Watchdog
CyberPanel documentation describes Full Service as including components such as PowerDNS, Postfix, and Pure-FTPd.
Do you need all of them? That depends on the server.
If external DNS handles every zone, external email handles mail, and users transfer files through SSH/SFTP, some services may not need public exposure. However, installer dependencies and CyberPanel workflows can change between versions. Test reduced-service installations before using them as a production standard.
10. Managing Default Configurations Carefully
Three installer decisions deserve particular attention.
First, never retain a documented or predictable default administrator password. Generate a unique password and store it in a password manager.
Second, document optional services that were enabled. Six months later, knowing whether Redis, Memcached, local DNS, mail, or FTP was intentionally installed can save substantial troubleshooting time.
Third, understand the ports before configuring firewalls.
CyberPanel normally uses TCP 8090 for its panel, while websites require TCP 80 and 443. CyberPanel's installation documentation also lists UDP 443 for web-server traffic, plus additional ports when DNS, mail, or FTP services are enabled.
Only expose services that are actually required. Where practical, restrict administrative ports such as 8090—and OpenLiteSpeed's WebAdmin interface—to trusted management IP addresses.
11. Completing the Installation
Allow the installer to finish without terminating the SSH session.
At completion, record:
- CyberPanel URL
- Administrator username
- Administrator password
- Server IP
- Any OpenLiteSpeed WebAdmin credentials displayed
- Enabled optional services
CyberPanel normally exposes its management interface at:
www.example_IP:8090
The installer may then offer to reboot the server. Follow the installer's current recommendation and reconnect after the server returns.
12. Accessing CyberPanel After Installation
Open:
www.Example_IP:8090
An initial certificate warning can occur when accessing the server directly by IP before a trusted hostname certificate has been configured.
If the page does not respond, first verify whether the panel service is running:
systemctl status lscpd --no-pager
CyberPanel's troubleshooting documentation identifies lscpd as the panel service to inspect when the interface returns errors or is unavailable.
Then confirm that something is listening on port 8090:
ss -ltnp | grep ':8090'
13. Initial Server Configuration
After login, review the setup or onboarding workflow provided by your installed CyberPanel version.
Check:
- Server hostname
- Administrator email
- DNS configuration
- PHP versions
- Enabled services
- Firewall configuration
- Software updates
- Backup destinations
Do not start changing OpenLiteSpeed values simply because they are available. Establish a working baseline first.
Verify OpenLiteSpeed:
systemctl status lsws --no-pager
OpenLiteSpeed's documentation uses the lsws systemd service for standard service control.
If that unit name is not present in your CyberPanel build, identify the available LiteSpeed service:
systemctl list-units --type=service | grep -Ei 'lsws|lshttpd'
A configuration syntax test can also be performed with:
/usr/local/lsws/bin/openlitespeed -t
This checks configuration validity without blindly editing files.
14. Creating a Website and Adding a Domain
Point the domain's DNS A record to the VPS before expecting SSL or normal public access.
In the current CyberPanel workflow, open Create Website, select the owner and package, enter the domain and administrative email, and select the PHP version required by the application. Mail-domain creation is optional when mail is hosted elsewhere.
A standard CyberPanel website commonly uses a document root resembling:
/home/example.com/public_html
Do not upload applications as root unnecessarily. Preserve the ownership model created by CyberPanel.
For WordPress or another PHP application, also confirm that the selected PHP release is supported by that application and its plugins.
15. SSL and Basic Security Checks
Once the domain resolves to the correct server and inbound ports 80 and 443 are reachable, request the site's certificate through CyberPanel's SSL interface.
Current documentation places website certificate management under Security → Manage SSL. Let’s Encrypt validation can fail if A/AAAA records point elsewhere, a stale IPv6 record exists, or another proxy/server handles the validation request.
Also review:
- SSH access
- Firewall rules
- Panel administrator password
- Unused service exposure
- Backups
- CyberPanel updates
- Operating-system updates
Do not treat a control panel as a substitute for Linux server administration.
16. Common Installation Problems and Fixes
Installation script fails: Confirm the operating system is currently supported, DNS works, package repositories are reachable, and the VPS has adequate disk/RAM. Review the installer output rather than immediately rerunning it.
Package dependency errors: Verify the exact OS release with:
cat /etc/os-release
Do not force packages from another distribution or release unless CyberPanel explicitly documents that procedure.
Existing web-server conflict: Use:
ss -ltnp | grep -E ':(80|443)\b'
Identify the process first. On a server containing production data, do not remove Apache or Nginx merely to make the installer continue.
CyberPanel login unavailable: Check:
systemctl status lscpd --no-pager
ss -ltnp | grep ':8090'
Then inspect CyberPanel's log:
tail -n 100 /home/cyberpanel/error-logs.txt
CyberPanel documents this file as its main application error log.
OpenLiteSpeed is not responding: Check its service and error log:
systemctl status lsws --no-pager
tail -n 100 /usr/local/lsws/logs/error.log
OpenLiteSpeed and CyberPanel documentation identify this log as the main web-server error log.
Website does not load: Confirm DNS, ports 80/443, website creation, PHP version, and OpenLiteSpeed status. A useful local virtual-host check is:
curl -I -H 'Host: example.com'
If this works locally but not externally, investigate DNS, provider firewall rules, NAT, or network security rather than changing the website configuration immediately.
SSL issuance fails: Verify A and AAAA records, make sure ports 80/443 are reachable, and ensure the domain actually points to this VPS. CyberPanel specifically recommends checking DNS before retrying certificate issuance.
Incorrect hostname: Review:
hostnamectl status
Then compare the hostname with its public DNS record. Correct hostname configuration is particularly important for panel and mail-related certificates.
17. Post-Installation Optimization
Optimization should start with measurement rather than random configuration changes.
Monitor:
free -h
df -h
uptime
Review CPU load, available memory, disk usage, logs, database load, PHP processes, and application response time.
For WordPress, OpenLiteSpeed supports LSCache integration, but caching must be configured for the application's behavior. Dynamic account pages, carts, sessions, and personalized content require more care than a static company website.
Avoid increasing PHP workers, connection limits, or cache sizes simply because a higher value looks faster. Every additional worker consumes memory.
18. Final Checklist
Before putting the server into normal use, verify:
- CyberPanel login works
- Administrator password is unique and securely stored
- Server hostname is correct
- Hostname DNS resolves correctly
- Domain A/AAAA records are correct
- Website exists in CyberPanel
- Document root is correct
- Appropriate PHP version is selected
- SSL certificate is valid
- Ports 80 and 443 are reachable
- Administrative ports are appropriately restricted
- Unnecessary services are not exposed
- OpenLiteSpeed service is healthy
- CyberPanel and OpenLiteSpeed logs have been reviewed
- CPU, RAM, and disk usage are reasonable
- Backups exist outside the VPS
- A restore procedure has been considered or tested
Conclusion -
Learning to install CyberPanel command line tools is only one part of deploying a reliable hosting server. The more important work happens around the installer: choosing a supported operating system, preparing a clean VPS, planning the hostname and DNS, understanding optional components, restricting network exposure, and checking services after installation.
CyberPanel can simplify routine website, PHP, DNS, database, and SSL administration, while OpenLiteSpeed provides a modern web-server foundation for PHP and WordPress workloads. Neither removes the need to understand the underlying Linux system.
A good deployment therefore ends not when the CyberPanel dashboard appears, but when DNS resolves correctly, OpenLiteSpeed is healthy, SSL works, unnecessary ports are closed, logs are clean, and a backup can recover the applications if something goes wrong.
What's Your Reaction?
 Like
0
Like
0
 Dislike
0
Dislike
0
 Love
0
Love
0
 Funny
0
Funny
0
 Angry
0
Angry
0
 Sad
0
Sad
0
 Wow
0
Wow
0