


Printer Installation: A Step-by-Step Guide to Hassle-Free Setup
In today’s digitally connected world, having a printer in your home or office is essential. Whether you need to print important documents, school assignments, or vibrant photos, a properly set up printer can save you time and effort. However, for many users, printer installation can feel like a daunting task. This guide will simplify the process and help you complete your printer installation efficiently and correctly. With just a few tools and a clear plan, you'll have your printer up and running in no time.
Why Proper Printer Installation Matters
Correct printer installation ensures that the device functions optimally, maintains consistent print quality, and reduces technical issues down the line. A poorly installed printer might result in frequent paper jams, low-quality prints, or connectivity problems. Moreover, when installing a printer for business use, reliability is critical to daily operations. That’s why understanding the right steps and following them carefully can make a significant difference.
Step 1: Unbox and Prepare the Printer
Start by unpacking the printer carefully. Remove all packaging materials including tapes, plastic covers, and protective inserts from the outside and inside of the printer. Check the box for all components typically, you'll find the printer itself, power cable, ink or toner cartridges, and a setup guide.
Place the printer on a flat, stable surface near a power source and within range of your computer or wireless router. This positioning is especially important for network-connected printers.
Step 2: Connect the Power and Turn On the Printer
Plug the power cord into the back of the printer and then into an electrical outlet. Press the power button to turn on the printer. Most printers will take a moment to boot up and prepare for use. You might see the control panel light up or hear internal components moving.
Some printers will ask you to select your language, region, and time zone on the screen. Complete these basic setup prompts to move forward with the printer installation process.
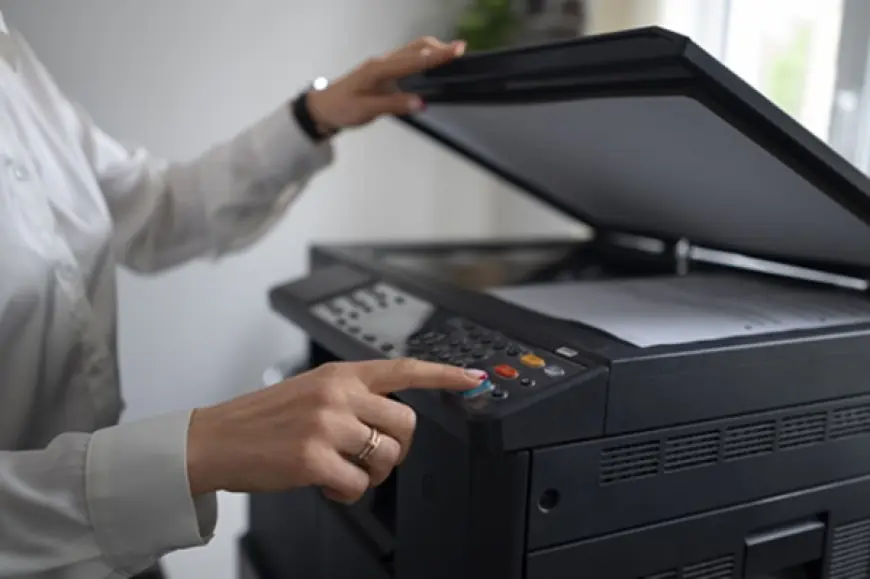
Step 3: Install Ink or Toner Cartridges
Open the printer’s access panel to install the ink or toner cartridges. Each slot will be labeled, and the cartridges will usually click into place when properly inserted. Follow the on-screen or printed instructions specific to your printer model.
After installing the cartridges, the printer may perform an automatic alignment or test print. Allow it to complete this step, as it ensures your printer will operate smoothly and with optimal print quality.
Step 4: Load Paper into the Tray
Open the paper tray and load it with standard printing paper. Adjust the paper guides so they snugly hold the paper stack without bending it. This step is often overlooked but critical for preventing paper jams and misaligned prints during future use.
Step 5: Install Printer Software and Drivers
The next phase of printer installation involves connecting your printer to your computer. This connection can be done via USB cable, Wi-Fi, or even Bluetooth depending on your printer model.
-
USB Connection: Connect the printer to your computer using the USB cable provided. Your operating system might automatically detect and install the necessary drivers.
-
Wireless Connection: On the printer's screen, go to the wireless settings menu and select your Wi-Fi network. Enter the password to connect the printer to your network. Once connected, download the printer software from the manufacturer’s website to install the correct drivers.
-
Driver Installation: Whether using USB or Wi-Fi, installing the correct driver is crucial. Most manufacturers provide an installation CD or a download link. Run the setup file and follow the on-screen instructions to complete the driver installation.
This step is vital for enabling features like duplex printing, scanning, and wireless commands.
Step 6: Test the Printer
Once the printer installation is complete, it’s time to test it. Try printing a sample document or image to verify everything is working correctly. Check for alignment, print clarity, and speed. If the test page prints successfully, your setup has been successful.
Troubleshooting Common Printer Installation Issues
Despite careful setup, some users may run into issues. Here are a few common problems and how to solve them:
-
Printer not found: Ensure it's properly connected to your computer or network. Restart both the printer and your computer.
-
Poor print quality: Perform a nozzle check or head cleaning function from the printer’s maintenance settings.
-
Paper jams: Always use good quality paper and make sure it’s loaded properly in the tray.
If problems persist, consult the user manual or contact the manufacturer’s support line for assistance.
Tips for Maintaining Your Printer After Installation
Proper printer installation is just the first step. To keep your printer working well:
-
Use high-quality ink and paper to extend the life of the printer.
-
Clean the print heads regularly if you print infrequently.
-
Update drivers and firmware when new versions are available.
-
Keep the printer in a clean, dry location to avoid dust buildup and moisture.
Conclusion
Efficient printer installation doesn’t have to be complicated. With the right approach, you can install your printer in under 30 minutes and enjoy seamless printing for work, school, or personal needs. Following each step methodically ensures optimal performance, reduces the risk of technical issues, and enhances your overall user experience.
Whether you’re setting up a printer for the first time or replacing an old device, this guide can serve as a reliable reference. With your printer installed correctly, you’re ready to enjoy the convenience and functionality it brings to your daily life.
What's Your Reaction?
 Like
0
Like
0
 Dislike
0
Dislike
0
 Love
0
Love
0
 Funny
0
Funny
0
 Angry
0
Angry
0
 Sad
0
Sad
0
 Wow
0
Wow
0