


The Step-by-Step Guide to Installing Blown-In Insulation Like a Pro
If your house feels like a refrigerator in winter and a sauna in summer, you’re probably losing a good chunk of money right through your walls and attic. Blown-in insulation is one of the fastest ways to fix that problem without ripping your home apart like a renovation show.
The good news? You don’t need a degree in engineering to install it. The bad news? Skipping steps or rushing the process will leave you with patchy coverage, uneven R-values, and zero improvement in comfort. Here’s a clear, practical, no-nonsense walk-through to help you install blown-in insulation service correctly from start to finish.
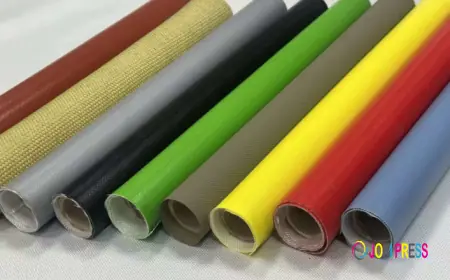
Choosing the Right Blown-In Insulation Material
The choice of material sets the tone for the entire project. Different types have different thermal performance, environmental impact, and installation quirks.
Cellulose vs Fiberglass Blown-In
Cellulose is made from recycled paper treated for fire resistance. It’s dense, which means it’s great for sealing gaps and resisting air movement. Fiberglass is made from spun glass fibers, offering better moisture resistance but lighter density.
|
Material Type |
R-Value per Inch |
Moisture Resistance |
Settling Over Time |
Recycled Content |
|---|---|---|---|---|
|
Cellulose |
3.2 – 3.8 |
Low |
Moderate |
High |
|
Fiberglass |
2.2 – 2.9 |
High |
Low |
Moderate |
Fun Fact: Cellulose insulation can be up to 85% recycled content, making it one of the most eco-friendly insulation options on the market.
Preparing the Space for Installation
A good installation starts with a clean, accessible, and well-sealed space.
Inspect for Air Leaks
Before adding insulation, seal any cracks, gaps, or penetrations with caulk or expanding foam. Blown-in insulation slows heat transfer, but air leaks will undermine its effectiveness.
Check Electrical and Ventilation
Move any wiring that could get buried, and make sure soffit vents are unobstructed to avoid trapping moisture. Use vent chutes to maintain airflow from soffits to ridge vents in attics.
Setting Up the Blown-In Insulation Equipment
The equipment you use will directly affect coverage and consistency.
Machine Setup
Most rental machines have two sections: a hopper where the insulation is fed, and a blower unit connected to a hose. Follow the machine’s feed rate recommendations for the material you’re using. Running it too fast creates clumps, while too slow wastes time.
Hose Positioning
Longer hoses can lose blowing power, so position the machine as close as possible to the work area. Keep the hose straight when possible to avoid material blockages.
Fun Fact: Some high-output insulation blowers can move more than 1,000 pounds of cellulose per hour. That’s faster than most people can feed it.
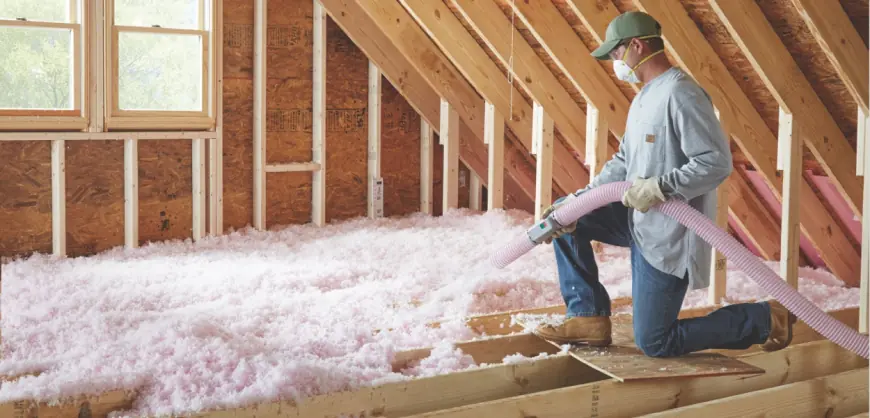
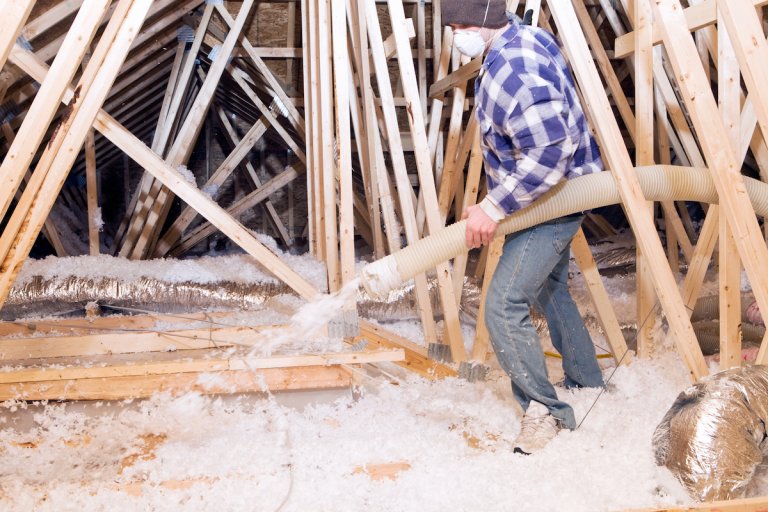
Installing Blown-In Insulation in an Attic
Attics are the most common place for blown-in insulation, and the process is straightforward once you know the sequence.
Start at the Farthest Point
Work from the farthest corner toward the attic hatch so you don’t trample freshly installed insulation. Keep a consistent sweeping motion with the hose to maintain even depth.
Monitor Insulation Depth
Use depth markers to ensure you hit the target R-value. Most attics need between 10–14 inches of blown-in cellulose or 14–18 inches of fiberglass for optimal efficiency.
Installing Blown-In Insulation in Walls
Walls require a different approach because you’re filling cavities without opening the entire surface.
Drill Access Holes
Drill holes between studs, usually near the top of the cavity, large enough to fit the blower hose.
Fill Until Resistance
Insert the hose and fill until the cavity feels full and the machine starts to slow. Overfilling can damage drywall; underfilling leaves cold spots.

Avoiding Common Mistakes
Even small errors during installation can cause big drops in performance.
Uneven Coverage
Inconsistent depth means certain areas will lose heat faster. Always keep your blowing motion steady and check depth frequently.
Skipping Air Sealing
Insulation slows heat movement, but leaks will still let warm or cool air escape. Skipping sealing is like wearing a thick sweater with holes in it.
Ignoring Safety Gear
Fiberglass particles and cellulose dust can irritate skin, eyes, and lungs. Wear gloves, goggles, and a respirator.
Post-Installation Checks
After the insulation is in place, take time to verify the work.
Depth Verification
Spot-check multiple areas to ensure the insulation depth matches your target R-value. If you find low spots, top them off immediately.
Clean-Up
Vacuum up any loose insulation around vents or electrical fixtures. This prevents material from blowing into living spaces or blocking airflow.
Common Questions About Blown-In Insulation Installation
How Long Does It Take to Install Blown-In Insulation?
Most attics can be completed in 4–6 hours with proper setup, though larger homes may take longer. Walls add more time due to drilling and patching.
Can Blown-In Insulation Be Added Over Old Insulation?
Yes, as long as the existing insulation is dry and free from mold. Adding a new layer can improve performance without full removal.
Does Blown-In Insulation Settle Over Time?
Cellulose may settle slightly, but proper installation compensates for this. Fiberglass has minimal settling.
Do I Need Special Ventilation After Installing Blown-In Insulation?
Adequate ventilation is critical, especially in attics. Maintain airflow to prevent condensation and moisture damage.
Is Professional Equipment Necessary for Blown-In Insulation?
Yes, the blower machine is essential for proper coverage. Many home improvement stores rent them with the purchase of insulation.
Conclusion
Installing blown-in insulation like a pro isn’t about rushing to cover every square foot—it’s about creating a consistent, sealed thermal blanket that works for years. Choosing the right material, preparing the space, and using the right equipment all make the difference between a mediocre job and a high-performing installation.
Done correctly, professional insulation contractor will improve comfort, lower energy bills, and extend the life of your heating and cooling systems. The effort you put into careful prep and even coverage will pay back every winter and summer you live in the space.
Author: Rene Zamarripa, spray foam installer and owner, began in the insulation industry in 2008 with Key Insulation in San Antonio. After 17 years of hands-on experience, now owns a successful insulation company with aspirations to franchise. Knowledgeable in R-values, insulation processes, and various components used in both residential and commercial applications. Experienced in identifying the right insulation solutions for different structures, including spray foam, fiberglass, and cellulose. Trained in operating spray foam rigs, managing temperature and pressure settings, ensuring proper material mix, and following safety standards. Understands the technical and practical skills required to deliver consistent, high-quality insulation and guide others in the trade.
Reviewer: With over 13 years in spray foam insulation, Benjamin Lee reviewed this content and offered feedback aimed at helping growing businesses connect with local homeowners and commercial clients more effectively.
What's Your Reaction?
 Like
0
Like
0
 Dislike
0
Dislike
0
 Love
0
Love
0
 Funny
0
Funny
0
 Angry
0
Angry
0
 Sad
0
Sad
0
 Wow
0
Wow
0