Shine Bright: A Step‑by‑Step Guide to Removing Dust & Scratches from Jewellery Photos
Learn simple steps to clear dust and scratches from jewelry photos. Follow our guide and make your images shine. Start improving today with visualsclipping

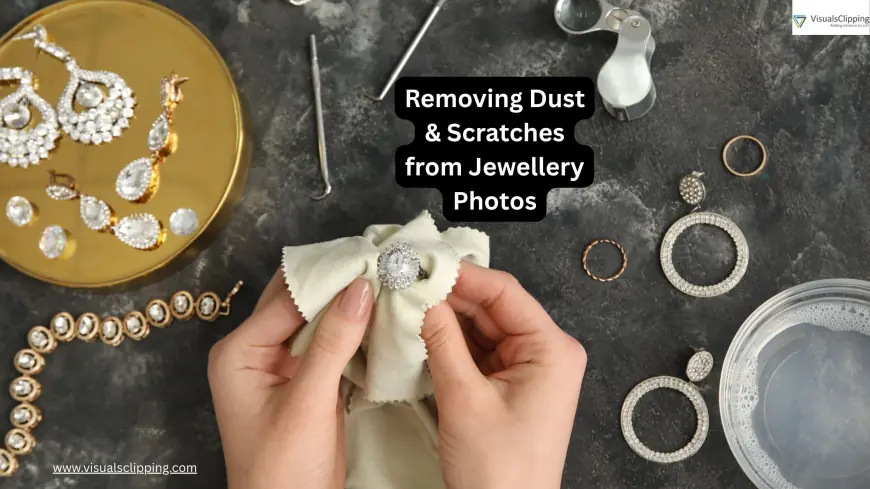
When presenting jewellery pictures online, even a speck of dust or scratch can damage the appearance of the product that you are trying to present and compromise its sparkle. This is the main reason why editors need to remove dust and scratches in jewelry photos in photoshop before they are uploaded on online shopping platforms and the internet.
This handy guide will tell you all about the way you can turn your clicked pictures into magnificent specimens of products. So, get ready to ensure that jewellery products dazzle customers.
-
Prepare Your Image: Noise Reduction
There are many tiny imperfections present in a picture, and you need to use the Dust & Scratch filter in Photoshop to remove and smooth out all these unwanted specks and micro-scratches. This filter becomes your first line of defence and allows you to reduce blemishes.
-
Isolate Problem Areas: Selection Tools
Before you make your way towards complex repairs, you need to protect all the unaffected zones in the picture by carefully marking out the areas that need editing. There are different tools available, including Lasso, Polygonal and Pen tool, which allow you to target the specific areas that you want. This makes sure that no accidental edits damage the rest of the image.
-
Refine Colours: Brush & Eyedropper
In the next step, you need to use the Brush Tool, along with the eyedropper, to even out areas that appear uneven. These tools allow you to perfect hues and repaint zones for perfect colour and sheen.
-
Perfect the Finish: Healing & Cloning
Now, to perfectly polish the image and to ensure that the image appears as close to the product, you need to combine the use of several Photoshop tools.
-
Spot Healing Brush - to blend small dust spots into the surrounding areas
-
Clone Stamp - to replicate uninterrupted pixels over blemishes
-
Content-Aware Fill - to replace larger damaged zones by copying the surrounding texture
-
Smudge Tool - to smooth out harsh repairs, making way for a seamless transition
-
Dodge/Burn Tools - to adjust brightness and shadows, matching the reflection and highlight of the jewellery
Jewellery must seem perfect online. Small visual imperfections might reduce the expected worth, click-through rates, and level of client trust. Learning these editing skills helps you to enhance both the picture and the professional profile of your brand.
With a clean, scratch-free, and colour-free appearance, this well-organised handbook will help your jewellery photographs stand out such that every piece may sparkle as intended.
Source: Visualsclipping
What's Your Reaction?
 Like
0
 Dislike
0
 Love
0
 Funny
0
 Angry
0
 Sad
0
Sad
0
 Wow
0
Wow
0


