


How to Install a TV Mount at Your Home: A Step-by-Step Guide
In this blog, we’ll walk you through how to install a TV mount at home, step by step.
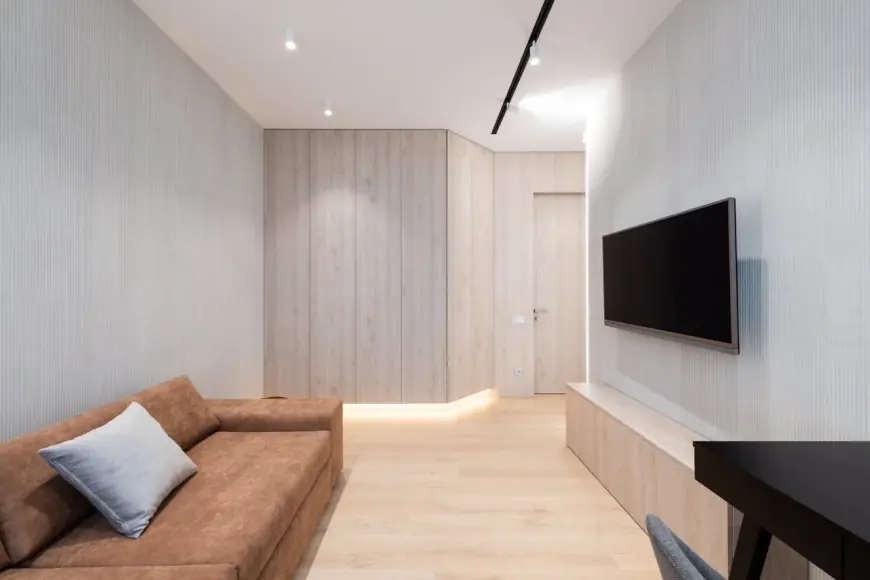
Wall-mounting your TV is a great way to save space, reduce clutter, and create a modern, streamlined look in any room. Whether you want a theater-like experience in your living room or simply want to keep your TV out of reach from curious kids or pets, mounting your television on the wall is a practical and stylish solution.
But how do you do it safely and correctly? Installing a TV mount may seem intimidating, but with the right tools and a little preparation, it’s a manageable DIY project for most homeowners.
In this blog, we’ll walk you through how to install a TV mount at home, step by step.
What You’ll Need
Before you begin, gather the following tools and materials:
-
TV wall mount bracket (compatible with your TV)
-
Power drill and drill bits
-
Stud finder
-
Level
-
Tape measure
-
Pencil or painter's tape
-
Socket wrench or screwdriver
-
Lag bolts (usually included with the mount)
-
A friend or helper (highly recommended)
Step 1: Choose the Right Mount and Location
Pick a TV Wall Mount Type
TV wall mounts come in different styles:
-
Fixed: Holds the TV flat against the wall. Ideal for eye-level installations.
-
Tilting: Allows up/down tilting for better viewing angles.
-
Full-motion (articulating): Swings out and swivels. Best for flexibility.
Choose a mount that suits your room layout and how you plan to watch TV.
Choose the Mounting Wall
Select a wall that can support the weight of your TV and mount—ideally a wood stud wall. Avoid mounting on drywall alone, as it won’t support the weight.
Consider glare from windows, viewing angles, and proximity to power outlets and media devices.
Step 2: Find Wall Studs
Use a stud finder to locate the vertical wall studs behind the drywall. Most mounts must be anchored into at least two studs for stability.
-
Mark the stud centers lightly with a pencil or tape.
-
Double-check with the stud finder in multiple passes to ensure accuracy.
Step 3: Measure and Mark Mounting Height
Decide how high to mount your TV. A general rule: the center of the screen should be at eye level when you’re seated—typically about 42 to 48 inches from the floor, but this can vary based on TV size and furniture height.
-
Use a tape measure and level to mark the correct height.
-
Mark the top and bottom holes of the mount bracket on the wall, aligned with the studs.
Step 4: Attach the Wall Bracket
Drill Pilot Holes
Using the marked hole positions, drill small pilot holes into the studs. This makes it easier to insert the bolts and prevents the studs from splitting.
Secure the Wall Bracket
Hold the bracket up to the wall and align it with your pilot holes.
-
Insert lag bolts through the mount holes and into the studs using a socket wrench or drill.
-
Use a level again to make sure the bracket is perfectly straight before tightening the bolts fully.
A crooked bracket now means a crooked TV later!
Step 5: Attach the TV Bracket
Most TV mounts include a separate bracket or arms that attach directly to the back of your TV.
-
Lay your TV face-down on a soft surface to avoid scratching the screen.
-
Align the mounting holes on the back of the TV (known as VESA holes) with the bracket.
-
Use the provided screws and washers to securely fasten the bracket to the TV.
Be sure the screws are tight but not over-torqued, which could damage the screen.
Step 6: Hang the TV on the Wall Mount
With the wall bracket and TV bracket both installed, it’s time to connect the two.
This step is best done with two people — the TV can be heavy and awkward to lift.
-
Carefully lift the TV and align the brackets according to your mount’s instructions. Most brackets will “click” or lock into place.
-
Double-check that the TV is secure and level.
Some mounts have locking screws or safety straps—make sure these are engaged before letting go.
Step 7: Manage Cables
Now that your TV is mounted, clean up the cables for a polished look.
Options include:
-
Cable raceways or covers to hide wires along the wall
-
In-wall cable management kits for a seamless, built-in appearance
-
Cord organizers for tucking excess cable behind furniture
Make sure all connections are secure, and test your devices to ensure everything is working properly.
Bonus Tips for Success
-
Use the correct hardware: Never substitute bolts or screws not designed for your mount or TV model.
-
Check your wall type: Masonry or concrete walls require different anchors than drywall.
-
Be patient and precise: Take your time measuring and double-checking placements before drilling.
-
Use a surge protector: Protect your electronics from power surges, especially when wall-mounted.
When to Call a Professional
If you're uncomfortable with power tools, can’t find wall studs, or have a very large or expensive TV, it may be worth hiring a professional TV mounting service. They have the experience to handle tricky installations and ensure your setup is secure and safe.
Services like Geeks on Site and other local providers offer TV wall mounting with cable management, wall bracket installation, and device hookup, saving you time and reducing risk.
Final Thoughts
Installing a TV mount in your home can transform your space and enhance your viewing experience. With careful planning, the right tools, and some basic DIY skills, you can complete the installation in just a few hours.
Whether you're going for a minimalist design or building a full media wall, a properly mounted TV adds value, convenience, and style to any room.
What's Your Reaction?
 Like
0
Like
0
 Dislike
0
Dislike
0
 Love
0
Love
0
 Funny
0
Funny
0
 Angry
0
Angry
0
 Sad
0
Sad
0
 Wow
0
Wow
0