How to Create a Token on Solana: Step-by-Step Tutorial
Learn how to create your own token on Solana with this step-by-step guide—no coding required. Launch your SPL token in minutes!
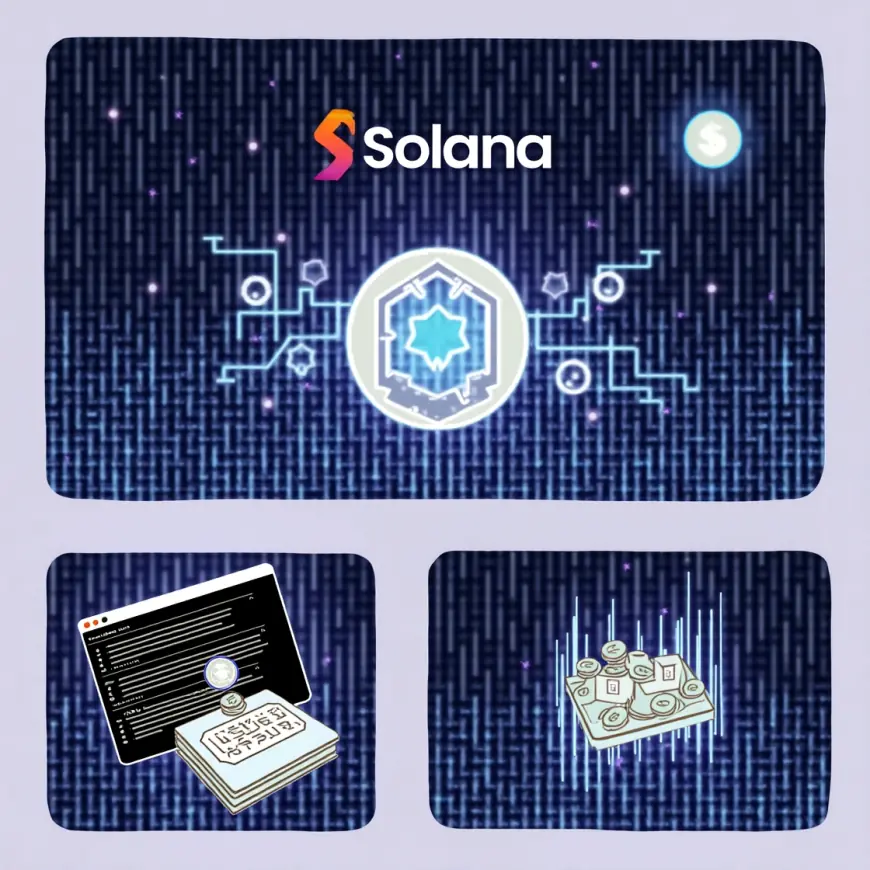
The rise of blockchain technology has brought with it a new wave of innovation in digital assets. Among the most sought-after capabilities is token creation, which allows businesses, creators, and developers to launch digital currencies for everything from community rewards to complex DeFi systems. While Ethereum has long been the go-to chain for token creation, Solana has rapidly gained popularity due to its high speed, low fees, and scalable infrastructure.
In this comprehensive tutorial, we’ll walk you through the step-by-step process of creating your very own token on the Solana blockchain. You don’t need to be an expert developer—just follow along with some basic tools and guidance, and you’ll be able to launch your own SPL (Solana Program Library) token in no time.
Why Solana?
Before diving into the process, let’s understand why Solana is an ideal platform for launching tokens:
-
Speed: Solana supports tens of thousands of transactions per second.
-
Affordability: Transaction fees are often a fraction of a cent.
-
User-Friendly Tools: Solana provides command-line tools and open-source libraries that simplify token creation.
-
Ecosystem Growth: From DeFi to NFTs, Solana is one of the fastest-growing blockchain ecosystems.
Pre-requisites Before You Begin
To create a token on Solana, there are a few things you’ll need to set up first:
1. Basic Understanding
While this tutorial will guide you step-by-step, having a basic understanding of blockchain concepts such as tokens, wallets, and transactions will be very helpful.
2. A Solana Wallet
You’ll need a Solana-compatible wallet. Phantom Wallet is the most popular choice. You can install it as a browser extension and use it to manage your tokens, receive airdrops, and interact with Solana-based apps.
3. Solana Development Environment
Solana provides a command-line interface (CLI) that allows you to interact with its network. You’ll need to install this on your computer. You’ll also use the SPL Token CLI, which is an additional tool specifically designed for creating and managing tokens on Solana.
4. Network Access
For beginners, Solana’s Devnet is the best environment to experiment with token creation. It is a test network where you can get free SOL (Solana’s native currency) to practice without any real financial risk.
Step-by-Step Guide to Creating Your Token
Step 1: Setting Up the Command Line Tools
The first step involves installing the Solana command-line tools on your computer. These tools allow you to interact with the Solana blockchain from your terminal or command prompt. Installation depends on your operating system, but it typically involves downloading and setting up the Solana CLI, followed by the SPL Token CLI.
Once the tools are installed, you’ll configure them to connect to the Solana Devnet (test network), which is ideal for learning and development purposes.
Step 2: Creating a Wallet Keypair
Once your tools are ready, the next step is to create a wallet keypair. This wallet will act as the authority for your token—it will be the account that creates the token, manages its supply, and receives any minting rights.
During this process, a secret key and public address will be generated. The public address is like your account number and can be shared, while the secret key must be kept safe and private.
Step 3: Funding Your Wallet
To interact with the blockchain, you’ll need SOL in your wallet to cover transaction fees. Since we’re working on the Devnet, you can request a small amount of free SOL to fund your development wallet. This process is called an “airdrop.”
After the airdrop, you should see your wallet balance reflect the newly received SOL.
Step 4: Creating the Token
Now comes the core step: creating your token. Using the SPL Token CLI tool, you’ll initiate the token creation process. During this step, you’ll define a new token and generate its unique address (also known as a mint address). This address represents the identity of your token on the blockchain.
Once this is complete, you’ve officially created your token!
Step 5: Creating an Associated Token Account
Every wallet that wants to hold a particular token must have an associated token account for it. As the creator, you’ll need to create a token account that allows your wallet to store and manage your new tokens.
This process essentially sets up a “storage location” for your token within your wallet.
Step 6: Minting Tokens
Now that your wallet is ready, it’s time to mint some tokens. Minting means creating new units of your token and assigning them to a specific wallet address—usually your own, at least to start.
You’ll define how many tokens you want to mint. For instance, if you want to create one million tokens, you can do so in a single command. These tokens will then appear in your token account balance.
Step 7: Viewing Your Tokens
Once minted, you can check your wallet to view the tokens. Most wallets like Phantom allow users to manually add custom tokens by pasting in the token's mint address. After adding it, you’ll see your token name and balance right in your wallet interface.
Step 8: Adding Token Metadata (Optional)
If you want your token to look professional—with a name, symbol, and icon—you’ll need to attach metadata. Solana doesn’t store this directly on-chain by default, but tools like Metaplex can help with this process.
You’ll create a metadata file that includes your token name, symbol, description, and image link. Once uploaded using Metaplex tools, your token will appear with proper branding in supported wallets and explorers.
Step 9: Using or Sharing Your Token
Your token is now live on the Devnet! You can send it to others by getting their Solana wallet addresses and transferring tokens to them. You can also use your token in test dApps or decentralized exchanges that support Solana Devnet tokens.
If everything looks good, you can repeat the entire process on the Solana mainnet to make your token available for real-world use.
Going Beyond: Advanced Options
After creating a basic token, you may want to explore advanced options such as:
1. Setting Mint Authority
You can assign minting authority to another wallet or revoke it entirely to make the supply fixed.
2. Burning Tokens
If you want to reduce your token’s supply, you can “burn” tokens, which removes them from circulation permanently.
3. Freezing Accounts
Solana allows token creators to freeze token accounts under certain conditions, which can help protect your ecosystem from bad actors.
Real-World Use Cases for Solana Tokens
Solana tokens are versatile and can be used for a wide range of applications:
-
DeFi Projects: Issue governance or utility tokens for decentralized finance applications.
-
Gaming: Create in-game currencies or rewards.
-
Loyalty Programs: Launch branded tokens to reward users or customers.
-
NFT Platforms: Enable rewards or payments in a native token.
-
Community Tokens: Empower DAOs and online communities with custom currency systems.
Common Mistakes to Avoid
-
Forgetting to Backup Your Wallet: Always save your secret keys securely. If lost, you can’t recover access to your token.
-
Minting Too Many Tokens Without a Plan: Consider your tokenomics carefully to maintain value and trust.
-
Skipping Metadata: Tokens with proper branding appear more credible and are more likely to be supported by wallets.
-
Testing Directly on Mainnet: Always test your token creation process on Devnet before deploying on the mainnet.
Conclusion
Creating a token on Solana is more accessible than ever before. With simple tools, low fees, and a developer-friendly ecosystem, anyone can launch a token for their business, community, or creative project. By following this step-by-step guide, you can go from concept to live token in a matter of minutes—without writing a single line of code.
Whether you're experimenting on Devnet or launching the next big utility token on mainnet, Solana offers the infrastructure and flexibility you need to succeed in the Web3 world.
What's Your Reaction?
 Like
0
 Dislike
0
 Love
0
 Funny
0
 Angry
0
 Sad
0
Sad
0
 Wow
0
Wow
0


