The Process of Asphalt Installation: What Homeowners Should Know

Asphalt installation is a crucial part of creating durable and visually appealing driveways, parking areas, and other paved surfaces. While the process might seem straightforward, several factors influence the outcome, including preparation, materials, and weather conditions. For homeowners considering an asphalt driveway or other paved areas, understanding the steps involved can help ensure a successful project. Here’s a comprehensive guide to the asphalt repair and installation process and what you should know.
Step 1: Planning and Design
Before the first shovelful of asphalt is laid, proper planning is essential. The process begins with evaluating the space and determining the purpose of the asphalt surface. For instance, driveways have different load requirements than small garden pathways.
Key Considerations:
-
Dimensions and Layout: Determine the width, length, and layout of the surface to ensure adequate functionality.
-
Drainage Needs: Proper slope and drainage are critical to prevent water pooling and ensure longevity.
-
Permits and Regulations: Check with local authorities for any permits or zoning restrictions.
By addressing these aspects, homeowners can avoid future issues related to drainage or structural integrity.
Step 2: Site Preparation
Site preparation is one of the most critical phases of asphalt installation. It ensures the ground beneath the asphalt is stable and free of obstructions.
Steps Involved in Site Preparation:
-
Clearing the Area: Trees, rocks, and debris are removed to create a clean surface.
-
Excavation: The area is excavated to the required depth, considering the thickness of both the base and asphalt layers.
-
Compacting the Subgrade: The underlying soil is compacted to provide a stable foundation.
Importance of a Strong Base:
A well-prepared base prevents cracks, dips, and other surface issues. This phase often includes adding a layer of crushed stone or gravel, which is compacted to enhance stability.
Step 3: Installing the Base Layer
The base layer acts as the foundation for the asphalt surface. This layer typically consists of a durable material like aggregate.
Steps in Base Layer Installation:
-
Spreading the Base Material: Aggregate is evenly spread across the area.
-
Compaction: The base is compacted using heavy rollers to create a smooth and sturdy surface.
-
Checking the Grade: The slope is verified to ensure proper drainage.
A solid base layer minimizes the risk of future asphalt failure, especially under heavy loads or during extreme weather conditions.
Step 4: Laying the Asphalt
Once the site is prepared and the base layer is ready, the asphalt installation begins. Asphalt is a mixture of aggregates, sand, and bitumen, a petroleum-based substance that binds the materials together.
Steps in Laying Asphalt:
-
Transporting and Heating: Asphalt is transported in heated trucks to maintain its temperature, ensuring it remains workable.
-
Spreading the Asphalt: A paving machine spreads the asphalt evenly across the base.
-
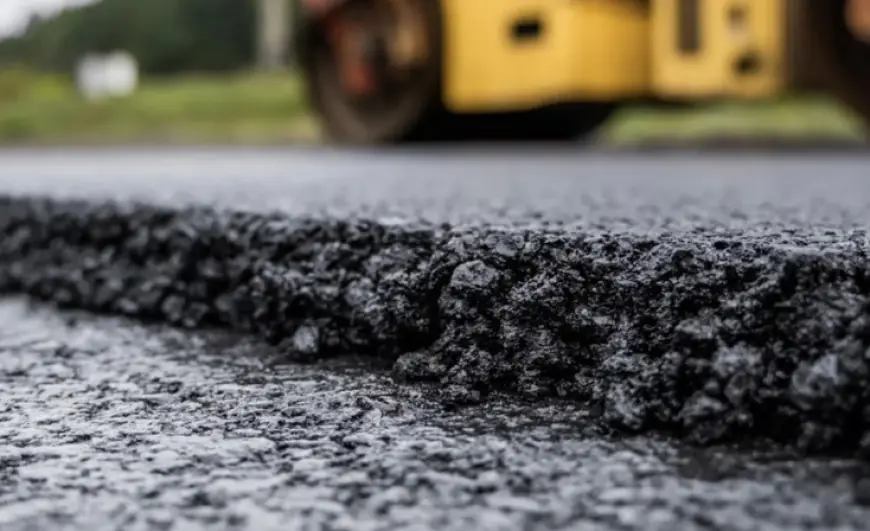
Initial Compaction: Rollers compress the asphalt while it’s still hot to create a smooth surface.
Types of Asphalt Mixes:
Depending on your needs, you might opt for a specific asphalt mix:
-
Hot Mix Asphalt (HMA): Ideal for high-traffic areas, offering durability and resistance to cracking.
-
Warm Mix Asphalt (WMA): Eco-friendlier, as it requires less energy to produce and emits fewer greenhouse gases.
Step 5: Final Compaction and Finishing
The final stage ensures the asphalt surface is compacted thoroughly and ready for use.
Compaction Process:
-
Rollers pass over the asphalt multiple times to achieve the desired density.
-
Attention is given to edges and corners to prevent weak spots.
Finishing Touches:
-
Edging: Trimming the edges creates a clean, professional look.
-
Sealing: Applying a seal coat protects the asphalt from UV rays, water, and chemicals, extending its lifespan.
Step 6: Curing and Maintenance
Newly installed asphalt requires time to cure and harden. Typically, it takes 24-48 hours to dry enough for light use, but full curing may take several weeks.
Tips for Maintenance:
-
Avoid Heavy Loads: Prevent parking heavy vehicles on new asphalt during the curing period.
-
Regular Sealing: Reapply a seal coat every 2-3 years to maintain protection.
-
Prompt Repairs: Address cracks and potholes immediately to prevent further damage.
Common Mistakes to Avoid
Understanding the asphalt installation process helps homeowners identify potential pitfalls:
-
Ignoring the Base: A weak foundation will compromise the asphalt’s durability.
-
Poor Drainage Design: Water accumulation can lead to cracks and potholes.
-
Inadequate Thickness: Skimping on asphalt thickness to save costs can result in a less durable surface.
Choosing the Right Contractor
Hiring a professional contractor ensures the installation is done correctly. Look for contractors with:
-
Experience: Check their portfolio of completed projects.
-
Certifications: Ensure they meet local industry standards.
-
References: Ask for reviews or testimonials from previous clients.
A reputable contractor will also provide a warranty for their work, offering peace of mind.
Conclusion
The process of asphalt repair and installation involves meticulous planning, preparation, and execution to achieve a durable and aesthetically pleasing surface. By understanding each step—from site preparation to maintenance—homeowners can make informed decisions and avoid common pitfalls. Whether you’re planning a new driveway or upgrading an existing one, investing in quality materials and professional expertise will ensure long-term satisfaction.
Take the time to choose the right contractor and maintain your asphalt surface regularly to enjoy a smooth, durable, and attractive result for years to come.


