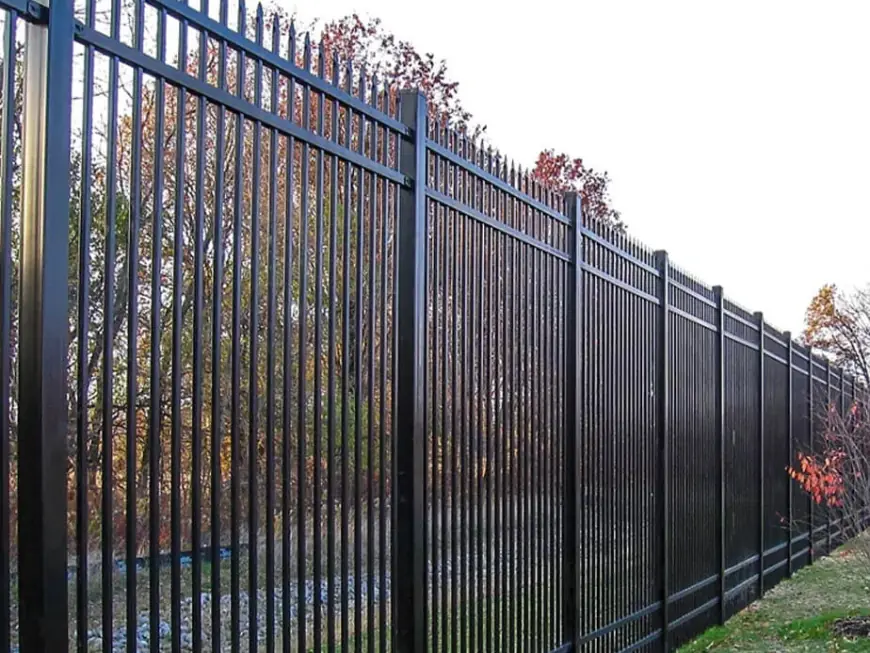
How to Prepare for Fence Installation: A Fence Company’s Step-by-Step Guide
This guide explains exactly how to prepare for fence installation, ensuring your project is successful from start to finish.

Installing a fence is a significant investment that enhances your home’s privacy, security, and curb appeal. However, proper preparation is essential to ensure a smooth and efficient installation process. A professional fence company can guide you through the necessary steps, helping you avoid delays, comply with local regulations, and protect your property during installation.
Why Preparation Matters for Fence Installation
Proper preparation:
-
Prevents project delays
-
Ensures compliance with local codes and HOA guidelines
-
Avoids property damage during installation
-
Helps your fence company work efficiently
-
Protects underground utilities from accidental damage
-
Ensures your fence is installed correctly and aligned with your property lines
Preparation saves time, reduces stress, and protects your investment.
Step 1: Define Your Purpose and Goals
Determine why you are installing a fence:
-
Privacy
-
Security
-
Containing pets or children
-
Decorative enhancement
-
Noise reduction
Your goals will influence the fence height, material, and style you select. Discuss your goals with your fence company during the planning stage to align the project with your needs.
Step 2: Check Local Regulations and HOA Guidelines
Before installation:
-
Research local zoning laws for fence height, placement, and style restrictions.
-
Check if a permit is required for fence installation in your area.
-
Review HOA guidelines to ensure your chosen fence style and height are approved.
Your fence company can assist you with obtaining permits and ensuring compliance with local and HOA regulations.
Step 3: Mark Your Property Lines
Fence installation must align with your legal property boundaries. To avoid disputes with neighbors:
-
Review your property survey or plat map.
-
Mark your property lines clearly before installation.
-
If unsure, hire a professional surveyor for accurate boundary identification.
Your fence company will use these markers to position your fence correctly.
Step 4: Discuss Utility Lines
Before digging begins:
-
Contact your local utility company or call 811 to mark underground utility lines.
-
Identify water, gas, electric, and internet lines on your property.
Marking utilities prevents damage, service disruption, and potential hazards during post installation.
Step 5: Choose the Right Fence Material and Style
Work with your fence company to select the material and style that aligns with your goals, property aesthetics, and maintenance preferences:
-
Wood: Classic appearance, customizable, requires periodic maintenance.
-
Vinyl: Low maintenance, durable, available in various styles.
-
Metal: Strong, long-lasting, modern or decorative appearance.
-
Composite: Eco-friendly, low maintenance, wood-like look.
Your fence company can provide samples, show previous installations, and help you choose the best material for your climate and property.
Step 6: Prepare the Installation Area
Ensure the fence installation area is ready:
-
Clear the fence line of debris, rocks, and large roots.
-
Trim or remove vegetation that may interfere with installation.
-
Move outdoor furniture, equipment, or obstacles away from the installation path.
-
If necessary, remove old fencing or structures, or coordinate removal with your fence company.
This preparation allows your fence company to start installation promptly and work efficiently.
Step 7: Notify Your Neighbors
As a courtesy:
-
Inform neighbors of your installation plans, especially if the fence borders their property.
-
Address any concerns regarding shared boundaries before installation begins.
-
Share your timeline to manage expectations regarding potential noise or disruptions.
A proactive approach helps maintain good neighbor relationships.
Step 8: Plan for Pets and Children
Fence installation involves tools, open trenches, and heavy materials, which may pose safety risks. During installation:
-
Keep pets indoors or in a secure area away from the work zone.
-
Supervise children to ensure they stay clear of the installation area.
This ensures safety for your family and allows your fence company to work without interruptions.
Step 9: Plan for Weather
Fence installation requires clear weather for digging and concrete setting:
-
Monitor the weather forecast leading up to your scheduled installation.
-
Reschedule with your fence company if heavy rain or storms are expected.
Your fence company will guide you on weather considerations for your installation.
Step 10: Schedule a Pre-Installation Walkthrough
Before installation:
-
Meet with your fence company to walk through the installation site.
-
Confirm fence layout, height, and gate placements.
-
Clarify the estimated timeline and any specific requests or concerns.
-
Review and finalize the contract and payment schedule.
This ensures you and your fence company are aligned on expectations.
Benefits of Proper Preparation
Preparing for fence installation offers several advantages:
-
Prevents delays caused by permit issues or property disputes.
-
Avoids costly mistakes or rework.
-
Ensures a safe, clean work area for your fence company.
-
Enhances installation efficiency, saving time and labor costs.
-
Helps achieve a professional, long-lasting result.
Your preparation directly contributes to the success of your fencing project.
What to Expect on Installation Day
-
Your fence company will arrive with materials and equipment.
-
The team will measure and mark post hole locations based on your approved layout.
-
Posts will be set in concrete and allowed to cure.
-
Fence panels or pickets will be installed once the posts are secure.
-
Gates and hardware will be installed and tested.
-
A final walkthrough will be conducted to review the installation with you.
Your fence company will handle all technical aspects while you monitor progress to ensure your preferences are followed.
Maintaining Your Fence After Installation
Once your fence is installed:
-
Clean your fence regularly to prevent buildup.
-
Inspect for damage or wear periodically.
-
Stain or seal wood fences every 2-3 years for protection.
-
Keep vegetation trimmed away from the fence to avoid moisture damage.
-
Check gates and latches for smooth operation.
Your fence company can provide a maintenance schedule to keep your fence in excellent condition.
Conclusion
Fence installation enhances your home’s security, privacy, and aesthetic value, but the key to a smooth, successful project is proper preparation. By understanding your goals, checking local regulations, marking property lines, preparing the installation area, and working with a professional fence company, you ensure your fence is installed efficiently and correctly. Thoughtful preparation not only speeds up the process but also protects your investment, allowing you to enjoy the benefits of your new fence for years to come.
What's Your Reaction?
 Like
0
 Dislike
0
 Love
0
 Funny
0
 Angry
0
 Sad
0
Sad
0
 Wow
0
Wow
0


